



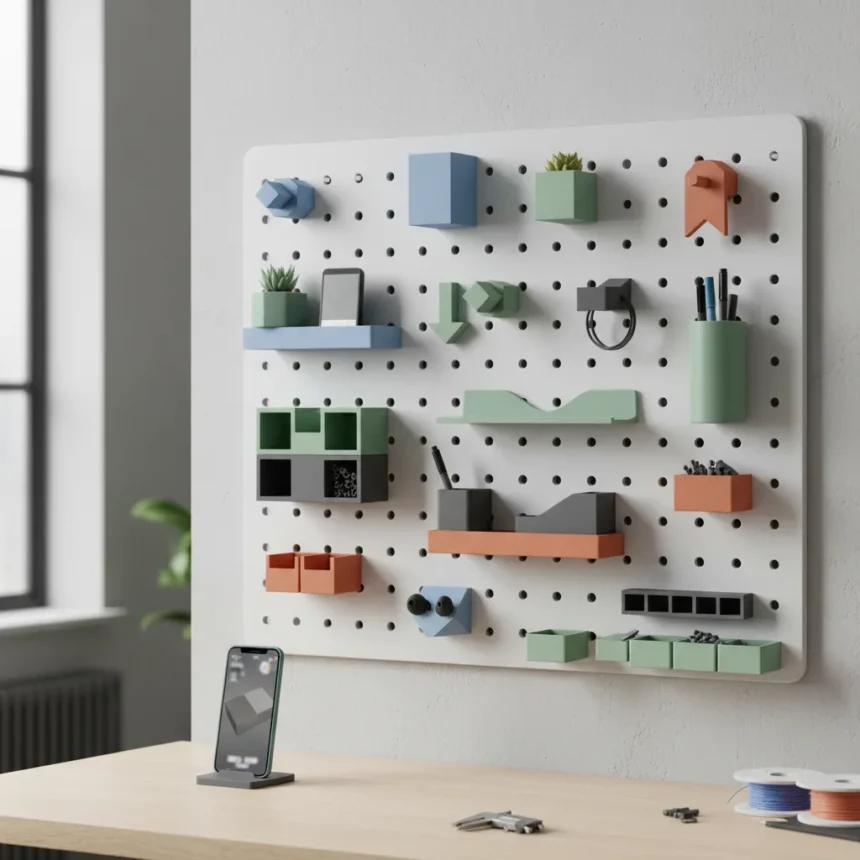
3D prints for Ikea Skadis pegboards unlock endless customization possibilities, turning a basic wall system into a personalized storage solution tailored to your exact needs. The Skadis pegboard itself is a modular canvas, but what makes it truly powerful is the ecosystem of free, community-designed accessories available through platforms like MakerWorld and Printables. If you own a 3D printer, you can skip expensive add-ons and print exactly what your workspace demands.
Key Takeaways
- Thousands of free Skadis-compatible accessories are available on MakerWorld and Printables
- Hexagon shelves, plier holders, and tilt drawers are among the most practical prints
- Glue-gun mounting is less secure than nailing and limits weight capacity
- File formats like GCode and 3MF can be printed directly or adjusted in slicer software
- The Skadis system offers endless creative freedom for custom workspace design
Why 3D prints for Ikea Skadis are game-changing for makers
The appeal of 3D prints for Ikea Skadis comes down to flexibility. Unlike fixed pegboard pegs or pre-molded brackets, you can print accessories that fit your exact workflow. Want a drawer that tilts to keep screws from rolling out? Print it. Need a hexagonal shelf in a specific dimension? Download the file, adjust the size in your slicer, and print. The Skadis pegboard’s design compatibility with 3D-printed parts means there are thousands of community-created options waiting for you.
What separates 3D-printed Skadis accessories from off-the-shelf alternatives is cost and customization. Most compatible files are free, hosted on MakerWorld and Printables, where makers share their designs openly. You pay only for filament and electricity—a fraction of what branded pegboard add-ons cost. This democratizes workspace organization. A maker in Berlin can print the same plier holder as someone in Tokyo, tweaking dimensions to fit their wall space without waiting for shipping or paying markup.
Top practical 3D prints for Ikea Skadis to print first
If you’re new to printing accessories for Skadis, start with these proven designs. Hexagon shelves are the most visually striking option—they cascade down a wall in honeycomb clusters or neat rows, providing both storage and aesthetic appeal. A 180mm hexagonal shelf is a standard size that works on most Skadis boards. These files are available in GCode format (ready to print directly) or 3MF format (adjustable in slicer software before printing).


A basic plier holder ranks high in practicality for tool-focused makers. It keeps hand tools organized and within reach, preventing the frustration of digging through drawers. For those who work with small fasteners, a tilt drawer designed to keep items secure is invaluable—the angled design prevents screws, washers, and nuts from spilling when you reach in. The Skadis Mario Pot Planter offers a creative twist, repurposing a decorative design for actual tool storage. These prints prove that functional doesn’t mean boring.
How to mount 3D prints for Ikea Skadis safely
Mounting matters. You have two main options: nails or a glue gun. Users on Printables reported success with small nails, which provide a secure, permanent hold. If you go the glue-gun route, understand the trade-off: glue is faster to apply and easier to remove, but it’s significantly less secure than nailing. Weight capacity drops considerably with adhesive mounting, so reserve glue for lightweight prints and use nails for heavier shelves or tool holders.



Before mounting anything, plan your layout. Cascading shelves create visual flow down the wall. A honeycomb cluster maximizes storage in a compact footprint. A single row keeps things minimal and organized. Measure your wall space and compare it against the file dimensions before printing—this prevents wasted filament on accessories that won’t fit. Once you’ve confirmed sizing, choose your filament color to match your workspace aesthetic, then print and install.
Where to find free 3D prints for Ikea Skadis files
MakerWorld is the primary hub for curated Skadis-compatible files. The platform hosts free designs from the maker community, vetted and organized by category. Printables is another reliable source where users share makes and provide feedback on prints they’ve completed. Both platforms allow you to filter by file type (GCode vs. 3MF), difficulty level, and print time, making it easier to choose projects that match your printer’s capabilities.
The breadth of choice is staggering. Beyond shelves and holders, you’ll find cable organizers, small drawer systems, magnetic tool mounts, and decorative brackets. This variety means you’re not limited to a designer’s vision—you can mix and match prints from different makers to create a truly unique setup. Browse by popularity or newest uploads to discover emerging designs.
Can you modify 3D prints for Ikea Skadis before printing?
Yes, absolutely. Files in 3MF format can be opened in slicer software like Cura or PrusaSlicer, where you can scale dimensions, rotate the model, or even modify geometry if you have CAD skills. GCode files are pre-sliced, so they’re ready to print without tweaks, but they’re less flexible if you need to adjust size. If your Skadis pegboard has unusual wall spacing or you want a shelf 10mm wider than the standard design, importing the 3MF file into your slicer and scaling it is the solution.



What’s the difference between printing Skadis accessories and buying them?
Cost and customization are the main differences. Printed accessories cost only filament (typically a few dollars per print), while branded pegboard add-ons can run $15–40 each. You also get infinite customization—color, size, and design variants—without waiting for inventory or paying for shipping. The trade-off is time: printing takes hours, and you need access to a 3D printer. For makers with their own equipment or access to a makerspace, printing is almost always the smarter choice.
How long does it take to print a Skadis accessory?
Print time varies by design complexity and printer speed. A simple plier holder might take 2–4 hours, while a hexagon shelf could take 6–12 hours depending on size and infill density. Most files include estimated print times in their descriptions on MakerWorld or Printables, so you can plan accordingly. Printing overnight or while you work is the typical workflow.
3D prints for Ikea Skadis represent the best of maker culture: free designs, endless customization, and the power to build exactly what you need. Start with a hexagon shelf or plier holder, mount it securely with nails, and expand from there. The possibilities truly are endless, and the barrier to entry is just a printer and a few hours of print time.
Edited by the All Things Geek team.
Source: Creativebloq