



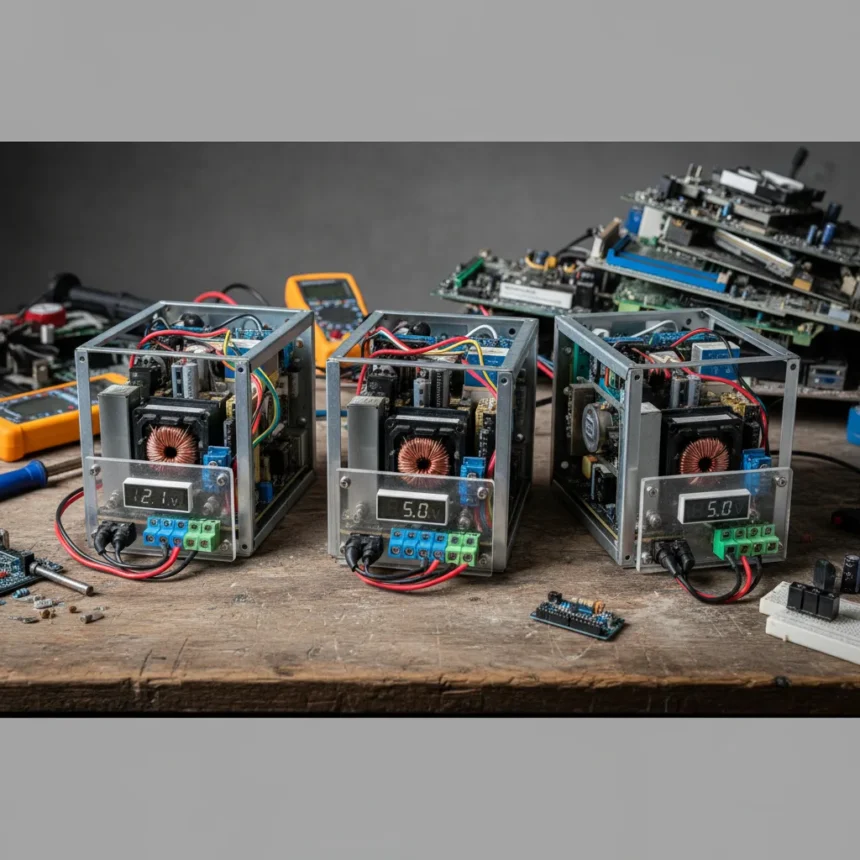
DIY ATX bench power supplies are rescuing forgotten PC components from the dusty corners of closets and recycling bins. A 20-year-old ATX power supply—once destined for the e-waste pile—can become a powerful, flexible bench rig for electronics prototyping, testing, and tinkering. The conversion requires minimal modifications and costs almost nothing when you start with a salvaged PSU.
Key Takeaways
- Old ATX PSUs output +3.3V, +5V, +12V, and -12V—all needed for electronics projects.
- Activation requires shorting pin 14 (Green, Power-On) to pin 15 (Black, Ground) with a switch.
- A dummy load resistor (5W+, under 5 ohms) on the 5V rail prevents PSU shutdown.
- Breakout boards like XH-M229 provide fixed outputs; SK35 buck-boost modules enable 0.5-30V adjustable power.
- Enclosures range from 3D-printed PETG to plywood boxes with CNC-cut panels.
Why Old PSUs Make Better Bench Supplies Than You’d Expect
Commercial bench power supplies cost hundreds of dollars and sit idle in most home workshops. A salvaged ATX PSU delivers 300W or more of usable power for a fraction of the price. The real advantage? Multiple voltage rails built in. Unlike a single adjustable supply, DIY ATX conversions give you simultaneous access to 3.3V, 5V, 12V, and negative 12V—perfect for running microcontroller boards, sensors, and analog circuits at the same time. This multi-rail design mimics lab-grade equipment without the lab-grade price tag.
The sustainability angle matters too. Millions of old ATX PSUs end up in e-waste streams every year. Repurposing one keeps it out of a landfill and gives it a second life in the maker community. A 20-year-old relic that nobody wanted suddenly becomes indispensable.
The Core Wiring: How to Activate a Standalone ATX PSU
An ATX PSU won’t turn on by itself. It expects a motherboard to send a Power-On signal through pin 14 (Green wire). To activate it standalone, you short pin 14 to pin 15 (Black, Ground) using a simple switch. That’s the fundamental hack. But there’s a catch: safety circuitry prevents the PSU from starting without a load on the 5V rail. You must connect a dummy load—typically a 5W resistor rated under 5 ohms—across +5V and ground. Warning: this resistor gets hot and must be mounted away from other components or enclosed safely.


Once activated, pin 8 (Grey, Pwr_Ok) outputs +5V when the PSU’s internal voltages stabilize. Many DIY builds use this signal to drive an LED, giving visual confirmation that power is good. The standby rail (+5VSB on pin 9, purple wire) remains active whenever the PSU is plugged in, even with the rear power switch off—useful for always-on features like indicator lights.
Breakout Boards and Adjustable Outputs: Making It Practical
Basic wiring works, but most modern DIY projects demand convenience. The XH-M229 breakout board solves this by converting the PSU’s raw connector into four labeled output terminals: +12V, -12V, +5V, and +3.3V. Solder the appropriate PSU wires to the board, mount it in an enclosure, and you’ve got a functional multi-voltage supply. For projects needing adjustable voltage, pair the XH-M229 with an SK35 buck-boost module, which delivers variable output from 0.5V to 30V with built-in current limiting. This combination gives you the fixed rails you need plus the flexibility of a lab supply.



The beauty of this approach is modularity. You’re not locked into one design. Add banana plugs for standard test leads, binding posts for secure connections, or USB Type-A ports if you want to power small devices directly. Some builders include inline fuses on the 5V and 12V lines for protection, and a latching power switch with an LED ring to signal standby state.
Enclosure Options: From 3D Printing to CNC Plywood
The PSU itself is ugly and bulky. Builders hide it in custom enclosures. Three main approaches dominate: 3D-printed PETG models (searchable on Printables.com), wooden mounts with brackets for desktop use, or plywood boxes with CNC-cut front panels. The plywood route is popular in the maker community because it’s robust, looks professional, and costs almost nothing if you have scrap wood. A typical build glues and clamps a 10mm plywood frame, sands it smooth, varnishes the front, and paints the rest. The front panel hosts binding posts, the power switch, an LED, and sometimes a small fan filter to keep dust out of the PSU.
3D printing offers precision and repeatability. A printed PETG enclosure holds the PSU, mounts the breakout boards, and aligns everything with four screw holes. It’s faster than woodworking and produces consistent results across multiple builds. Wooden enclosures, by contrast, showcase craftsmanship and integrate better with workshop aesthetics—there’s a reason so many Instructables projects lean toward wood.
Safety Considerations and Common Pitfalls
The biggest hazard is the dummy load resistor. It dissipates 5W or more as heat and can burn skin or melt nearby plastic if not mounted properly. Enclose it in a ceramic or metal enclosure, mount it away from the main circuit board, or use a heatsink. Some builders use a 10W resistor rated 8–20 ohms, but this can fail under sustained load. Stick with a 5W resistor under 5 ohms and test it before finalizing your build.



Unplug the PSU before making any wiring changes. ATX connectors carry high current on the 12V and 5V rails—a short circuit can damage components or start a fire. Double-check all connections before plugging in. If you’re doubling wires to handle higher current (for motors or power-hungry circuits), use appropriate gauge wire and solder joints securely.
How do I choose between fixed and adjustable outputs?
Use fixed outputs (XH-M229) if you’re mostly powering microcontroller boards, sensors, and logic circuits. Add an adjustable SK35 module if you prototype analog circuits, test LED strings, or experiment with variable-voltage loads. Most builders use both: fixed rails for everyday work, adjustable output for special cases.
Can I use any old ATX PSU for this project?
Any ATX PSU from the last 20+ years works. Older 300W units are ideal because they’re common, free, and deliver enough power for most projects. Avoid very old AT-format supplies (pre-1995)—they use a different connector and lack the Power-On signal pin.
What wattage PSU should I target?
A 300W PSU is the sweet spot: sufficient for most electronics work, compact enough to fit in a reasonable enclosure, and abundant in e-waste. Larger units (500W+) are overkill for a bench supply and harder to house. Smaller units under 200W limit your simultaneous load capacity.
DIY ATX bench power supplies prove that sustainability and practicality aren’t mutually exclusive. You rescue e-waste, build a tool tailored to your needs, and spend almost nothing. The conversion takes an afternoon, and the result rivals commercial supplies costing ten times as much. If you have a dusty old PSU in storage, it’s time to bring it back to life.
Where to Buy
120W voltage regulator with LCD display | available for around the $50 mark
Edited by the All Things Geek team.
Source: Tom's Hardware