


Why Your TV Picture Quality Is Worse Than It Should Be
TV picture quality refers to how accurately and vividly your television reproduces an image relative to what the director or content creator intended. Most 4K TVs manufactured after 2016 are technically capable of stunning images, yet the majority ship with factory settings optimised for showroom floors rather than living rooms. The result is an overly bright, blue-tinted picture with motion artefacts that bear little resemblance to what filmmakers actually intended. The good news is that five targeted changes — taking no more than a few minutes — can transform what you see on screen without spending a single dirham, dollar, or pound.
Start With Filmmaker Mode for Instant TV Picture Quality Gains
The single fastest improvement you can make is switching your picture mode away from Standard, Dynamic, or Vivid. These modes exist to make TVs look eye-catching under the harsh fluorescent lighting of a retail store, not to show you accurate colour or natural motion. Tom’s Guide recommends switching to Filmmaker Mode immediately after setting up a new TV. Filmmaker Mode disables motion smoothing automatically, adjusts sharpness, brightness, and noise reduction to match the director’s intent, and delivers the cleanest possible image without requiring any further tweaks.
If your TV does not offer Filmmaker Mode, look for Cinema, Movie, or Theater instead. Sony labels its equivalent Professional mode. Hisense uses Theater Day and Theater Night. Any of these accuracy-focused modes will get you dramatically closer to the intended picture than the factory default. When you switch to HDR or Dolby Vision content, your TV should automatically activate the HDR variant of whichever accurate mode you have selected.
Enable Local Dimming and Fix Your Color Temperature
Local Dimming is one of the most impactful settings for contrast and black levels, yet many TVs ship with it set to Auto or even off. Auto mode dynamically alters brightness and contrast in ways that feel inconsistent and distracting — avoid it. Instead, navigate to Picture, then Advanced, and set Local Dimming to High for the best possible contrast. If you notice haloing around bright objects or distracting brightness pumping in a well-lit room, dial it back to Medium or Low and assess which looks better in your specific space. On Mini-LED TVs in particular, confirm that Local Dimming is not locked to a fixed Low setting, which would undercut the panel’s biggest advantage.



Color temperature is equally important and equally overlooked. The factory default on most TVs leans cool — meaning blue-tinted — because it appears to pop in a bright store. Professional calibration targets a warm white point close to 6,500 Kelvin. Find this under Picture, then Expert Settings or Color, and select Warm or Low. The image may look slightly yellow for the first few minutes, but your eyes will adjust and what you are left with is a far more natural, accurate picture that matches how content was graded in a colour suite.
Disable Motion Smoothing Before It Ruins Another Film
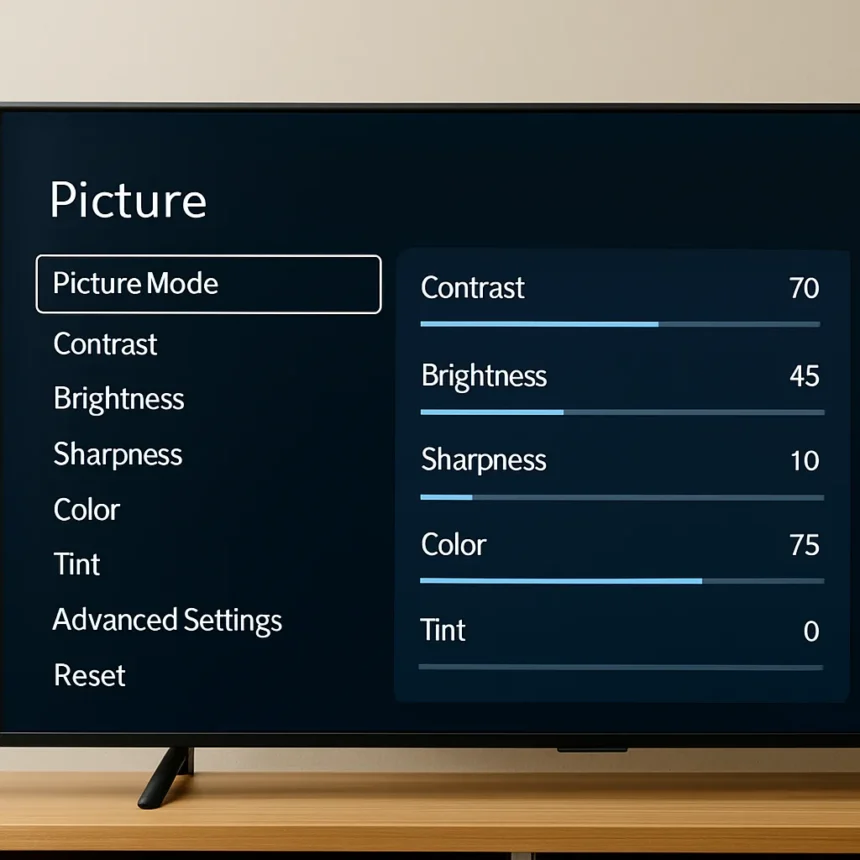
Motion smoothing — sometimes called Motion Clarity, TruMotion, MotionFlow, or a dozen other brand-specific names — is responsible for the infamous soap opera effect, where cinematic films look like they were shot on a cheap video camera. It is one of the most complained-about TV settings in existence, and it is turned on by default on almost every television sold. Go to Picture, then Motion or Clarity, and either disable it entirely or set it to the lowest available option. Some TVs offer granular controls that let you adjust judder and blur reduction independently — if yours does, set both to zero for film content. Filmmaker Mode will often handle this automatically, but it is worth verifying manually.



Why Your HDMI Settings Are Capping Your Picture
This is the setting most people never check, and it can silently limit everything else you have just configured. By default, some TVs — particularly on older or manually configured ports — use a Standard HDMI bandwidth mode that cannot carry the full signal required for HDR, rich colour depth, or high refresh rates. The fix is enabling Enhanced HDMI, and the path varies by brand.
On Samsung, go to Settings, then General, then External Device Manager, and toggle on Input Signal Plus (sometimes called HDMI UHD Color). On LG, navigate to Settings, General, Devices, HDMI Settings, and enable HDMI Deep Color. Sony users should go to Settings, Watching TV, External Inputs, HDMI Signal Format, and select Enhanced Format. Hisense owners will find the option under Settings, Picture, Advanced, HDMI Format — switch it from Standard to Enhanced. This setting is enabled per port, so configure it for every port connected to a games console, streaming stick, or Blu-ray player. Recent Samsung and LG models often have this enabled by default, but it is always worth confirming.
Is Filmmaker Mode available on all TVs?
Filmmaker Mode is available on most major TV brands manufactured in recent years, including LG, Samsung, Vizio, and others that are part of the UHD Alliance initiative. If your TV does not have it by name, Cinema, Movie, or Theater modes are the closest equivalents and deliver similar accuracy benefits.
Does disabling motion smoothing affect sports viewing?
For sports, some motion smoothing can help with fast-moving content. A practical approach is to create a separate picture mode — Standard works well as a base — specifically for sport, with brightness raised and motion settings adjusted to taste. Avoid the dedicated Sports mode on most TVs, as it tends to be less accurate than a tuned Cinema or Standard mode.



What is the right gamma setting for TV picture quality?
Gamma controls how your TV handles the range between dark and bright areas. For dark rooms, BT.1886 is the recommended target. For movie watching, gamma 2.4 is a solid choice. In bright rooms, gamma 2.2 tends to hold shadow detail better under ambient light. Most viewers will not need to touch gamma at all if they have followed the steps above, but it is a useful fine-tuning tool for dedicated home cinema setups.
Your TV is almost certainly capable of a far better image than it is currently showing you. The five settings above — Filmmaker Mode, Local Dimming on High, motion smoothing disabled, color temperature set to Warm, and Enhanced HDMI enabled on every active port — address the most common picture quality failures without requiring any specialist knowledge or equipment. Do them once, and every film, series, and game you watch afterwards will look the way it was meant to.
Edited by the All Things Geek team.
Source: Tom's Guide