


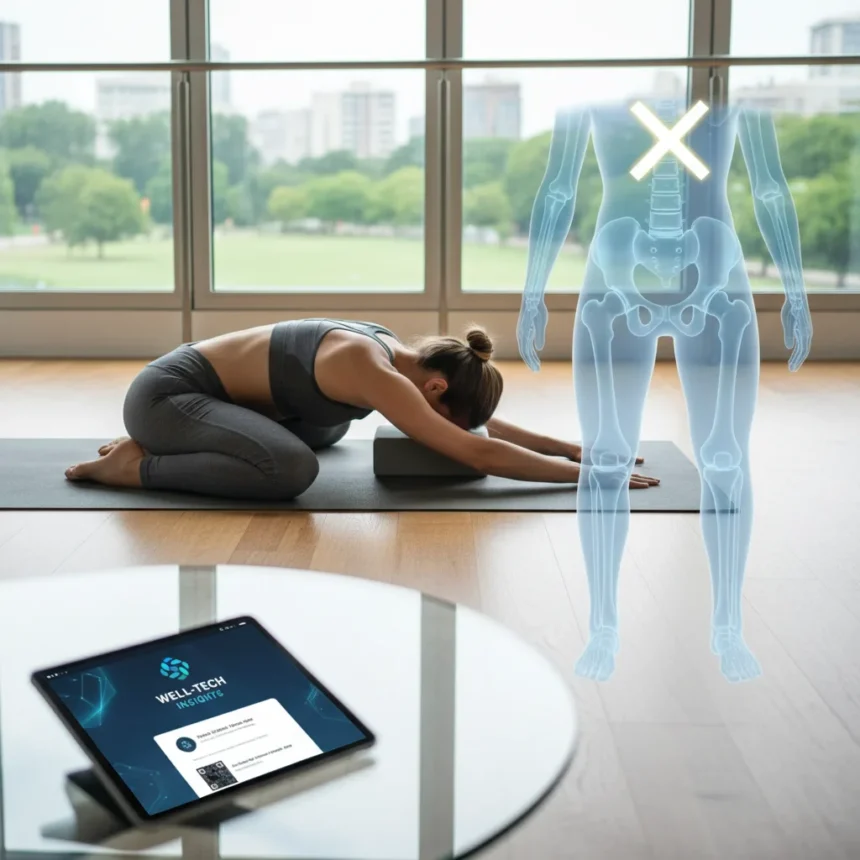
The sleeping pigeon stretch is a hip opener that targets the glutes and external rotators in a supported, reclined position. Unlike the figure-4 stretch, which requires you to pull your leg toward your chest while seated or lying down, the sleeping pigeon stretch keeps your body flat on the ground, reducing strain on your lower back and knees while still delivering deep hip release.
Key Takeaways
- Sleeping pigeon stretch provides a gentler alternative to figure-4 for hip mobility
- The reclined position reduces lower back and knee strain compared to seated stretches
- Consistent practice can unlock tight hips and improve glute flexibility
- Proper form requires tucking your toes and keeping your hips level
- The stretch works best when held for 30 seconds to 2 minutes per side
Why the Sleeping Pigeon Stretch Works Better Than Figure-4
The sleeping pigeon stretch outperforms figure-4 for most people because it eliminates the compressive force on your lower back. When you perform figure-4 while seated or lying on your back, you’re pulling your knee toward your chest, which can pinch your lumbar spine if your hips are tight. The sleeping pigeon stretch, by contrast, keeps your torso flat and your hips level, allowing the stretch to target your glutes without forcing spinal flexion. This makes it safer for people with lower back sensitivity or existing tightness in their posterior chain.
The reclined position also makes the sleeping pigeon stretch more accessible for beginners. You’re not fighting gravity or balance—you’re simply lying down and allowing your body weight to deepen the stretch gradually. This passive approach means you can stay in the position longer without fatigue, which translates to better tissue adaptation and faster mobility gains.
How to Perform the Sleeping Pigeon Stretch Correctly
To perform the sleeping pigeon stretch, lie flat on your back with both knees bent and feet flat on the floor. Cross one ankle over the opposite knee, creating a figure-4 shape with your legs. Keep your toes tucked (not pointed) to protect your knee joint. Place your hands behind your bottom thigh and gently pull that thigh toward your chest until you feel a deep stretch in your glute and outer hip. Your lower back should stay flat against the floor—if it rounds up, you’ve gone too far.

Hold the stretch for 30 seconds to 2 minutes per side, breathing steadily. The key is patience: tight hips don’t release in 10 seconds. Repeat on both sides daily, ideally after a light warm-up or at the end of your workout when your muscles are warm and more responsive. A safety note: if you have knee pain, hip flexor tightness, or are returning from a lower body injury, consult a qualified physical therapist before adding deep hip stretches to your routine. Do not force the stretch—gentle, consistent tension is far more effective than aggressive pulling.
Results You Can Expect From Regular Practice
Most people notice improved hip mobility within one to two weeks of consistent sleeping pigeon stretching. Your glutes will feel less tender, your hip range of motion will expand, and daily activities like sitting, squatting, and walking may feel less restricted. Some people also report reduced lower back tension, since tight glutes often pull on your lumbar spine and create postural imbalances.


The sleeping pigeon stretch also pairs well with other hip mobility work. You might combine it with cow-face pose, 90/90 stretches, or dynamic hip flows to address tightness from multiple angles. The advantage of the sleeping pigeon stretch is that it requires no props, no floor space beyond your body length, and no special flexibility—making it the most accessible entry point for people who’ve struggled with traditional figure-4 or pigeon pose variations.
Does the Sleeping Pigeon Stretch Replace Figure-4 Entirely?
The sleeping pigeon stretch is a better starting point for most people, but figure-4 still has value once your hips open up. Figure-4 is more intense and requires greater hip flexibility, so it’s better suited for intermediate to advanced practitioners. Think of sleeping pigeon as the foundation stretch and figure-4 as the progression. Start with sleeping pigeon for two to four weeks, then gradually introduce figure-4 if you want to deepen your practice further.
Some people prefer the sleeping pigeon stretch even after their hips improve, simply because the reclined position feels more relaxing and sustainable. There’s no rule that says you must graduate to a harder stretch—if sleeping pigeon delivers the mobility and comfort you need, stick with it.
Can beginners do the sleeping pigeon stretch safely?
Yes, beginners can perform the sleeping pigeon stretch safely, but start gently. Don’t force your thigh toward your chest on day one. Instead, let gravity do the work—simply hold the position and breathe. If you feel sharp pain (not just a stretch sensation), ease off immediately. Tight hips take time to release, and pushing too hard invites injury.


How long should I hold the sleeping pigeon stretch?
Hold the sleeping pigeon stretch for 30 seconds to 2 minutes per side. Longer holds (1-2 minutes) are more effective for releasing chronic tightness, but even 30-second holds provide benefit if repeated consistently. Breathe steadily throughout—holding your breath tightens muscles and counteracts the stretch.
Will the sleeping pigeon stretch help my lower back pain?
The sleeping pigeon stretch often helps lower back pain caused by tight glutes, since your glutes connect directly to your lower spine and pelvis. Tight glutes pull your pelvis out of alignment, which strains your lumbar discs. By releasing your glutes, you reduce that pulling force and can restore neutral spine position. However, if your back pain stems from disc issues, nerve compression, or structural problems, see a healthcare provider before relying on stretching alone.
The sleeping pigeon stretch works because it respects your body’s limits while delivering real results. Unlike aggressive stretching that leaves you sore, this gentle approach builds sustainable hip mobility over time. If you’ve been stuck with tight hips, this is the move to start with—not the one to graduate from.
Edited by the All Things Geek team.
Source: Tom's Guide