


Peace lily leaves turning yellow is one of the most common houseplant complaints, and the good news is that it’s almost always fixable. Unlike brown tips or crispy edges, yellowing typically signals overwatering, nutrient deficiencies, or environmental stress—all reversible with the right adjustments. The key is diagnosing which problem your plant faces and acting fast, especially in winter when overwatering risks spike.
Key Takeaways
- Yellow leaves that feel soft or mushy indicate overwatering; crispy yellowing suggests underwatering or low humidity
- Peace lilies need consistently moist soil (not soggy), bright indirect light, and 65-80°F temperatures
- Lower leaves yellowing while new growth stays green is normal aging and requires no intervention
- Soft or mushy roots signal root rot; repot immediately in fresh, well-draining soil
- Use filtered water or let tap water sit 24 hours to remove chlorine and fluoride
What Causes Peace Lily Leaves Turning Yellow?
Peace lily leaves turning yellow stems from a handful of care mistakes, and texture tells the story. If yellowed leaves feel soft, mushy, or translucent, overwatering is the culprit—the soil is staying too wet, suffocating roots and triggering decay. If the yellow leaves are crispy or papery, your plant is either thirsty or gasping in dry air. Peace lilies crave consistently moist (not soggy) soil; when the top inch feels dry to the touch, it’s time to water.
Beyond watering, yellowing can stem from low humidity, incorrect lighting, temperature swings, poor soil drainage, nutrient starvation, pests, or simply age. Lower leaves naturally yellow and drop as the plant matures—this is normal and requires no action. But if yellowing spreads across multiple leaf levels or new growth looks pale, your plant is signaling a problem that demands attention.
Step 1: Check and Adjust Your Watering Routine
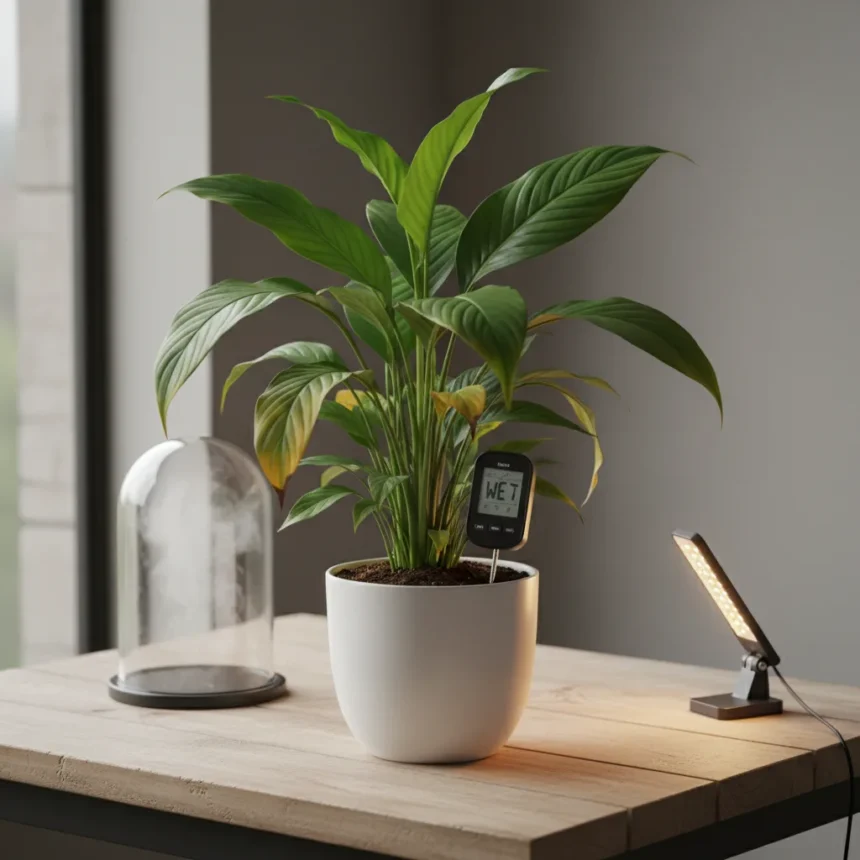
Start by testing soil moisture with your finger. Push it into the soil up to the first knuckle; if the soil feels soggy, hold off watering and improve drainage. If it feels dry, water with room-temperature filtered water until it drains from the bottom—never let the pot sit in standing water. Peace lilies prefer consistency, so water again once the top inch dries out.


Use filtered water, rainwater, or tap water left to sit for 24 hours before watering. This simple step removes chlorine and fluoride, which peace lilies are sensitive to and can cause leaf yellowing. Ensure your pot has drainage holes; without them, water pools around roots and triggers root rot. If the soil is compacted or roots are circling the pot bottom, repot into a larger container with fresh, well-draining potting mix.
Step 2: Optimize Light and Location
Move your peace lily to bright indirect light—a north-facing window or a spot a few feet from a bright window works well. Avoid direct sun, which scorches leaves and accelerates yellowing. Keep the plant away from drafts, heating vents, and air conditioners; peace lilies prefer stable temperatures between 65-80°F.


In winter, when natural light dips, move your plant closer to a light source to maintain deep green color. If your home is dim, consider a grow light positioned 12 inches above the plant. Yellowing often worsens in low-light conditions because the plant cannot photosynthesize efficiently, so light is as critical as water.
Step 3: Boost Humidity and Prune Damaged Leaves
Peace lilies thrive in high humidity. Mist leaves daily with filtered water, or place the pot on a pebble tray filled with water (keep the pot above water, not touching it). A humidifier is another option if misting feels tedious. Higher humidity combats both underwatering symptoms and prevents spider mites, which love dry air.
Once you’ve adjusted care, prune yellow leaves at the base with clean, sharp shears. Remove no more than 20% of the plant’s foliage at once to avoid shocking it. Removing dead leaves redirects energy to new growth and improves the plant’s appearance. If roots are soft, brown, or smell foul, root rot has set in—repot immediately into fresh soil and trim away blackened roots.
Fertilize with a diluted peace lily-specific fertilizer every watering to reverse nutrient deficiencies. Follow the product instructions and avoid over-fertilizing, which burns roots and causes more yellowing. Most houseplant fertilizers are too strong for peace lilies; dilute further than recommended to be safe.


How long does it take for peace lily leaves to turn green again?
New growth typically emerges within 2-4 weeks of correcting the underlying problem, though existing yellow leaves rarely regreen—they will eventually drop. Focus on preventing new yellowing by maintaining consistent watering, humidity, and light. The plant’s recovery speed depends on how severe the damage is and how quickly you address the root cause.
Can I save a peace lily with severe root rot?
Yes, if caught early. Repot the plant into fresh, well-draining soil and trim away all soft, mushy roots with clean shears. Water lightly for the first week to avoid re-saturating the soil, then resume normal care. If roots are completely black and the stem is mushy, the plant may not survive, but attempting repotting is worth the effort.
Is yellow leaf drop normal on peace lilies?
Lower leaves yellowing and dropping is natural aging as the plant matures. If only the bottom leaves are affected and new growth looks healthy, no intervention is needed. However, if yellowing spreads upward or affects multiple stems, a care issue is at play and requires the three-step fix above.
Peace lily leaves turning yellow is frustrating, but it’s also your plant’s way of asking for help. Soft, mushy yellowing means ease off the water. Crispy yellowing means boost humidity and light. Most plants recover within weeks once you nail the basics: moist (not soggy) soil, bright indirect light, high humidity, and filtered water. Catch the problem early, make the adjustment, and your peace lily will reward you with lush green growth.
Edited by the All Things Geek team.
Source: Tom's Guide