


Your iPhone camera is powerful enough to rival dedicated cameras, yet most users never touch the settings that unlock its real potential. iPhone camera settings hold the key to eliminating the blurry, washed-out, or poorly framed shots that plague casual smartphone photography. Three specific adjustments—available in Settings and the Camera app—can transform your photos immediately, without learning complex editing software or buying external lenses.
Key Takeaways
- Enable the Grid in Settings > Camera to improve composition using the rule of thirds.
- Turn off Macro Control to prevent unwanted lens switching and maintain focus on distant subjects.
- Adjust exposure manually by swiping up or down on the sun icon to balance highlights and shadows.
- All three settings are free and built into iOS 17 and newer on iPhone 13 and later models.
- These changes require no external equipment or post-editing—improvements happen in-camera.
Enable the Grid for Composition Control
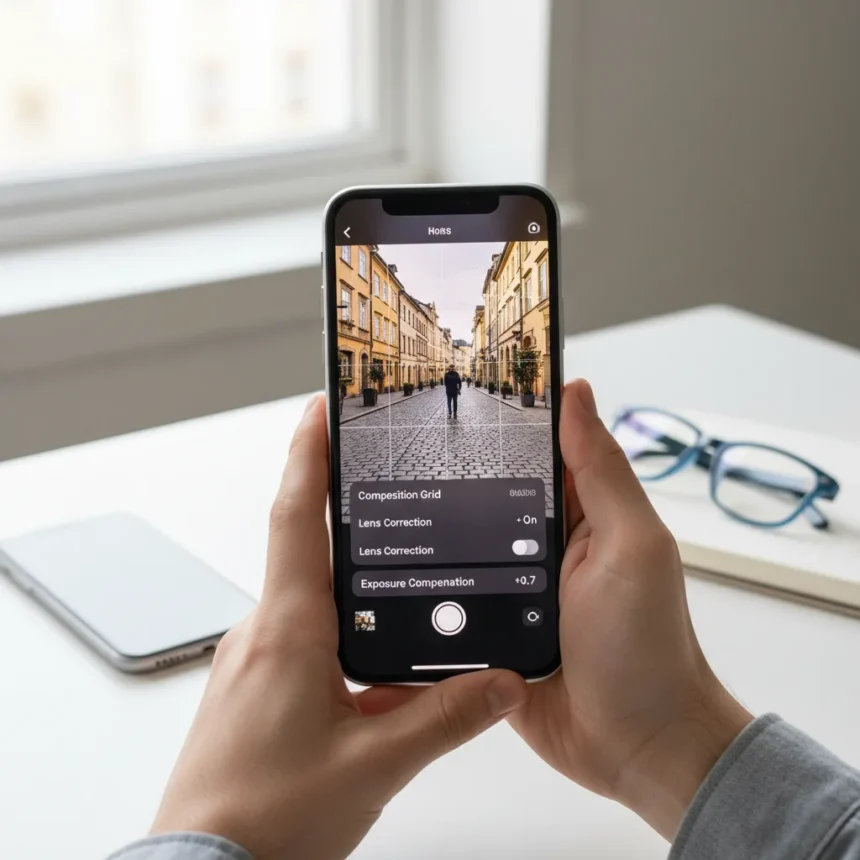
The grid is the single most effective tool for better framing, yet it remains disabled by default on most iPhones. Open Settings, navigate to Camera, and toggle on Grid. Once enabled, the grid appears as two horizontal and two vertical lines dividing your frame into nine sections—the foundation of the rule of thirds, a compositional principle that places subjects at line intersections rather than dead center. This simple overlay transforms how you position people, horizons, and leading lines.
In the Camera app, the grid stays visible as you compose. Align your subject’s eyes with the upper intersection points, or position a horizon line along the upper or lower horizontal. This prevents the common mistake of centering everything, which creates static, boring images. The grid costs nothing and requires no skill beyond understanding where to place subjects—it’s pure geometry. Professional photographers use this principle constantly because it works.
Turn Off Macro Control to Preserve Sharpness
Apple’s automatic macro mode, which switches to the ultra-wide lens for close subjects, sounds helpful but often backfires. When you’re trying to photograph something at a normal distance, the camera may unexpectedly switch to macro mode, leaving your image soft and out of focus. Disable this by opening Settings > Camera and toggling off Macro Control. This gives you manual control over when the ultra-wide lens activates.


With Macro Control disabled, you decide when to use close-up photography. If you want a macro shot, simply tap the ultra-wide lens button in the Camera app to switch manually. This prevents the frustrating scenario where your camera makes a lens choice you didn’t intend, ruining a shot you thought was sharp. The automatic switching assumes the camera knows your intent better than you do—it usually doesn’t.
Adjust Exposure Manually for Balanced Light
Auto-exposure is convenient but often wrong. A bright sky blows out to white, or a dark subject becomes a silhouette because the camera compromises between extremes. Take control by tapping your subject to focus, then swiping up or down on the sun icon that appears on screen. Drag the slider to the left (negative values, down to -2) to underexpose scenes with bright highlights, or to the right (positive values, up to +2) for low-light situations where you need more brightness.



This single adjustment prevents the washed-out look of overexposed photos and the murky darkness of underexposed ones. In high-contrast scenes—a person standing in front of a sunset, for example—underexposure preserves the sky’s color and detail while your subject remains visible. In dim indoor lighting, a slight overexposure lifts shadow detail without requiring a flash. The exposure slider gives you the control that auto-exposure simply cannot provide.
Why These Settings Matter More Than Hardware
External smartphone lenses and advanced cameras offer advantages—a $329 telephoto lens can produce softer bokeh and specialized portrait effects—but iPhone’s built-in camera excels in consistency and ease of use. The bottleneck for most iPhone users isn’t hardware; it’s that the default settings hide creative control. A properly composed, well-exposed photo from an iPhone 13 or 14 outperforms a carelessly shot image from a newer flagship because composition and exposure matter more than megapixels or processing power.
These three settings work on iPhone 13 and newer models globally, with iOS 17 or later. Older models may lack some toggles, but the core principle remains: your camera is better than your settings suggest. The grid, macro control, and exposure adjustment are the foundation. Once you master these, you’ll notice immediately that your photos look sharper, better composed, and properly exposed—no editing required.
How do I enable the grid on my iPhone?
Open the Settings app, tap Camera, and toggle on Grid. The grid will appear in your Camera app immediately, showing nine sections divided by two horizontal and two vertical lines. Use the intersections to position subjects using the rule of thirds.



Why would I disable macro control?
Macro Control automatically switches to the ultra-wide lens for close subjects, but this can blur photos you intended to shoot at normal distance. Disabling it gives you manual control—you choose when to use the ultra-wide lens, preventing unwanted lens switches that ruin sharpness.
What does adjusting exposure do?
Tapping your subject and swiping on the exposure slider lets you brighten or darken your photo before taking it. Negative values (swiping down) protect bright areas from washing out; positive values (swiping up) lift shadow detail in dark scenes. This replaces the camera’s guesswork with your intent.
Your iPhone camera has always been capable of sharp, well-composed photos. These three settings simply remove the barriers between your vision and the final image. Change them today, and your next batch of photos will prove it.
Edited by the All Things Geek team.
Source: Tom's Guide