

Your iPhone video audio is probably worse than it needs to be. A single default Camera setting is the culprit, and disabling it takes seconds. The issue stems from Apple’s automatic audio processing, which prioritizes certain frequencies while suppressing others during video recording. This processing can make dialogue sound thin, background noise feel intrusive, and overall recordings feel less natural than they actually are.
Key Takeaways
- iPhone’s default Audio Mix setting applies aggressive processing that degrades video audio quality.
- Turning off this setting improves clarity and reduces unwanted noise suppression instantly.
- The fix applies to all iPhones using the native Camera app for video recording.
- No additional hardware or app purchases are required to implement this change.
- Audio improvement is most noticeable in dialogue-heavy videos and indoor recordings.
Why iPhone Video Audio Sounds Worse Than It Should
Apple’s default audio processing during iPhone video recording applies what the company calls Audio Mix behavior. This automatic system uses algorithmic noise reduction and frequency weighting designed to optimize audio for social media playback and casual viewing. The problem: it often strips away natural tone and presence from your voice, making recordings sound compressed and processed rather than authentic. When you’re recording a podcast, interview, or any content where audio clarity matters, this default behavior works against you.
The setting exists because most casual iPhone users never think about audio. They point, tap record, and upload. Apple optimized for that use case. But if you care about your audio quality—whether you’re a content creator, filmmaker, or just someone who wants their videos to sound professional—the default setting becomes an invisible obstacle. The good news: you can disable it with one tap.
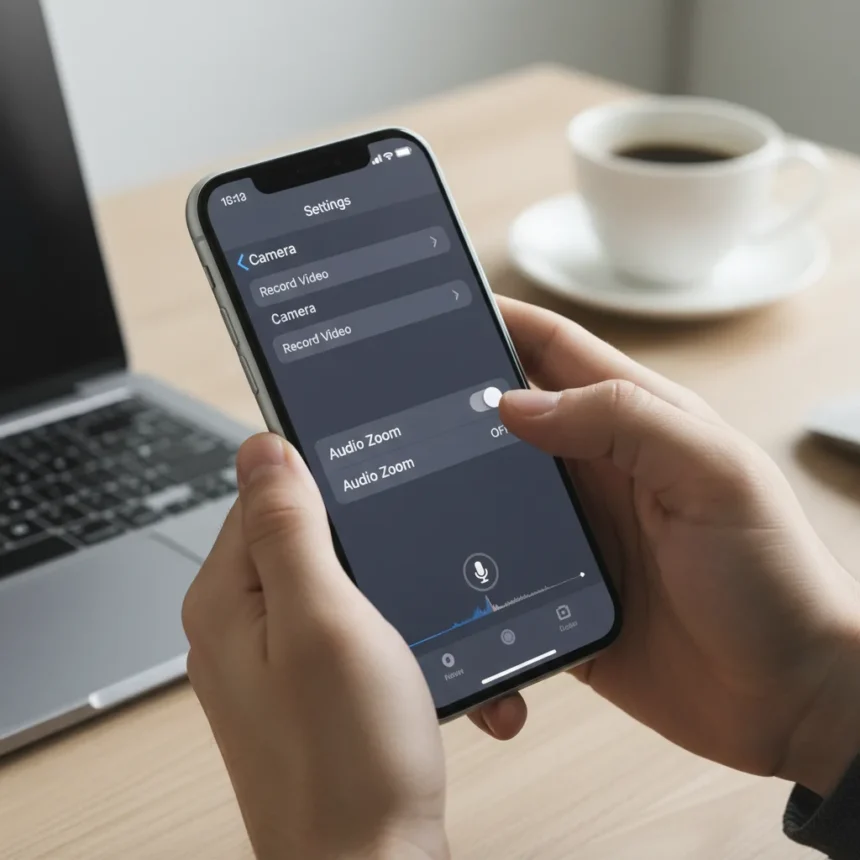
How to Fix iPhone Video Audio Immediately
Open the Camera app on your iPhone and start recording video. While recording (or before you start), look for the audio control. Tap it to access the Audio Mix options. Instead of the default setting, select the option that provides less processing or more natural audio capture. Save this preference, and your next recordings will use the improved audio path. The change is instant—you don’t need to restart your phone or update iOS.


The exact menu location and button label vary slightly depending on your iOS version, but the principle remains the same across all recent iPhones. The audio control is typically accessible directly from the recording interface, not buried in Settings. This is intentional—Apple designed it to be adjustable per recording if you want to experiment.
What makes this fix so valuable is that it costs nothing and requires no external microphone or app. You’re simply telling iOS to capture audio with less processing applied. The result is a cleaner, more transparent sound that gives you more control in post-production if you need to edit or enhance further. Professional videographers and podcasters have known about this setting for years; casual users often discover it by accident or never at all.


iPhone Video Audio vs. Default Processing
The difference between processed and unprocessed iPhone video audio is subtle but immediately noticeable once you hear both. Processed audio sounds safer—compressed, with less dynamic range and softer peaks. It’s optimized for TikTok and Instagram, where audio is secondary to visuals. Unprocessed audio sounds more alive. It has more presence, clearer dialogue, and a sense of space that makes the recording feel more immediate and authentic.
If you’re comparing your iPhone’s video audio to a dedicated external microphone or a professional camera’s built-in mic, the processing gap widens further. But even without external gear, disabling the default Audio Mix behavior brings your iPhone’s audio noticeably closer to what your ear actually heard when you recorded. This matters whether you’re creating content for YouTube, documenting family moments, or recording interviews for a podcast.
When This Fix Makes the Biggest Difference
The improvement is most dramatic in three scenarios: dialogue-heavy recordings (interviews, vlogs, speeches), indoor environments where room tone matters, and any content where you plan to edit audio in post-production. If you’re recording ambient sound, music, or outdoor scenes where background noise is part of the aesthetic, the difference may be less pronounced—but it’s still there.
For creators who rely on iPhone video, this single adjustment can eliminate the need for expensive external microphones in many situations. The built-in mic is perfectly capable of capturing good audio; the default processing was just getting in the way. Once you disable it, you’ll wonder why Apple had it enabled by default in the first place.


Can you fix iPhone video audio after recording?
No. Audio processing is applied during recording, not in post-production. You must change the setting before you hit record. This is why the adjustment exists in the Camera app itself rather than in a separate editing tool. Plan ahead, change the setting, then record.
Does disabling Audio Mix affect all iPhone video recordings?
The setting persists for future recordings once you change it, so yes—it becomes your new default. If you want to toggle between processed and unprocessed audio for different projects, you can adjust it each time you open the Camera app. iOS remembers your most recent choice, so you won’t need to dig through menus repeatedly.
Will this fix work on older iPhones?
The Audio Mix feature and its controls are available on recent iPhone models with modern iOS versions. Very old iPhones may not have this setting at all, but any iPhone capable of running current iOS should support it. If you can’t find the audio control in your Camera app, your device may be too old to offer this feature.
The hidden audio setting on your iPhone is a perfect example of how Apple optimizes for the majority while leaving power users frustrated. Disabling it takes ten seconds and immediately improves your video audio. If you record any video on your iPhone—whether professionally or casually—this is the first setting you should change. Better audio doesn’t require new gear or technical expertise. It requires knowing where to look.
Edited by the All Things Geek team.
Source: Tom's Guide